Email Forwarding in CPanel
Introduction
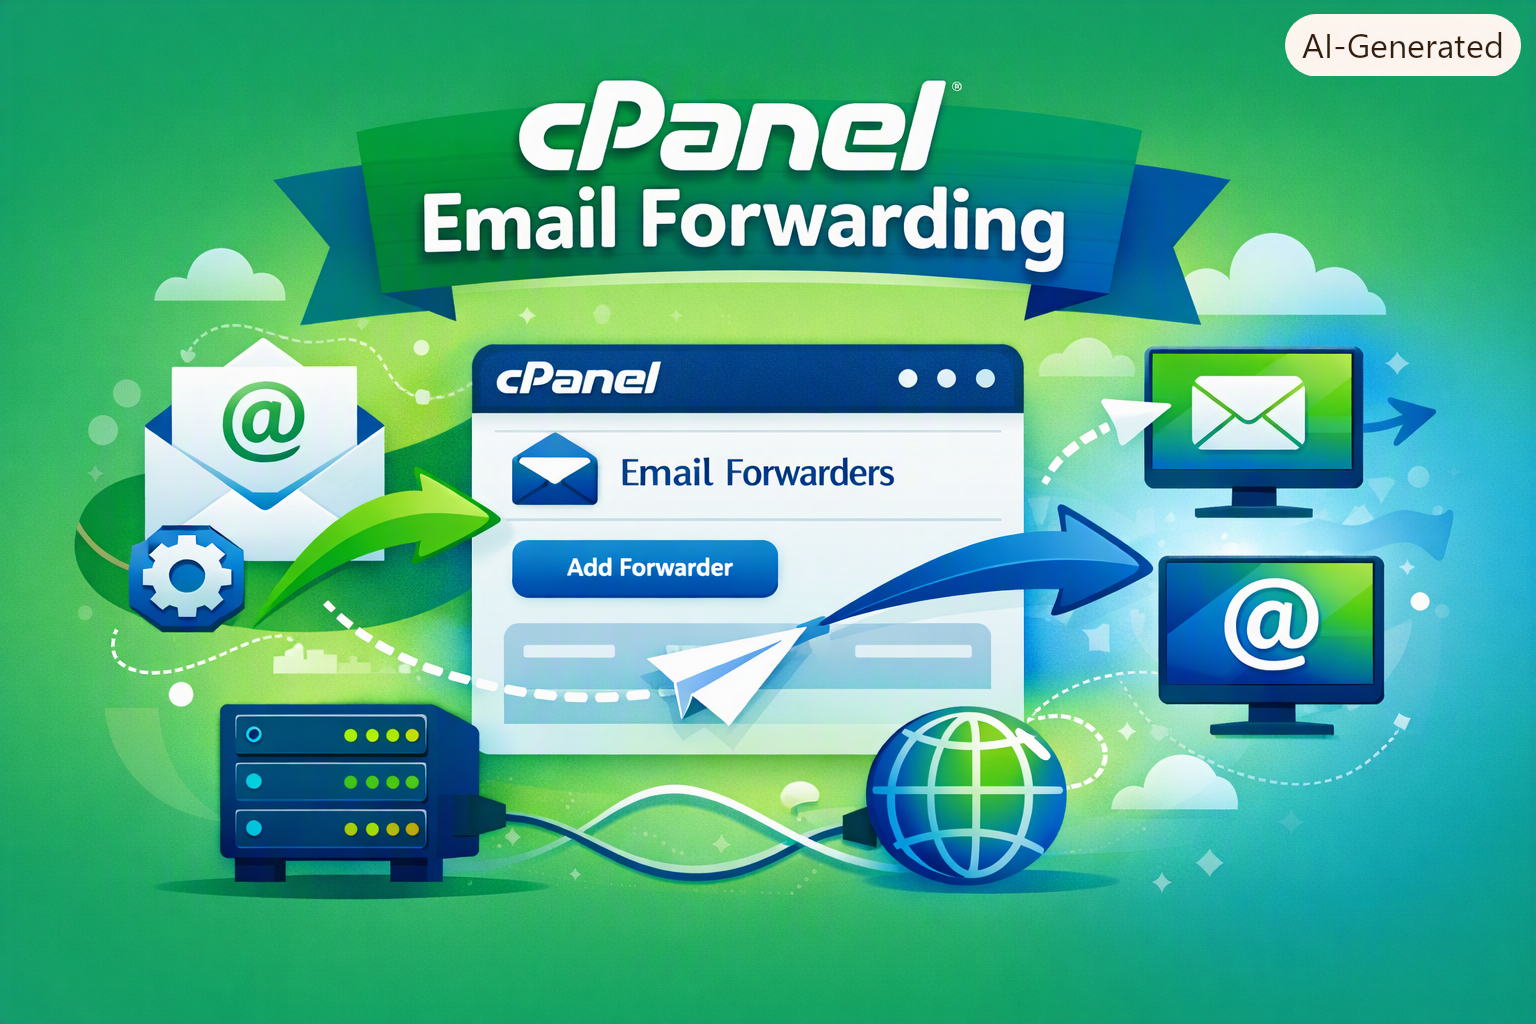
Email forwarding is one of the most useful features in cPanel, letting you automatically redirect incoming messages from one address to another without needing to log into multiple accounts. This feature is especially valuable for business owners managing several email addresses (like sales@ and support@) who want all messages consolidated into a single inbox. In this article, we explain how to set up the different types of forwarding available in cPanel.
What Is Email Forwarding and Why Do You Need It?
- Consolidating messages: Route several email addresses into one inbox to save time.
- Continuity during staff changes: Forward a former employee’s mail to their manager without losing any messages.
- Managing marketing campaigns: Route temporary or campaign-specific addresses to your main inbox.
- Backup purposes: Forward a copy of messages to another mailbox as a precaution.
Please Contact Us For more Details
Types of Forwarding Available in cPanel
1. Forwarding One Address to Another (Forwarder)
Redirects all incoming messages sent to a specific address (like info@yourdomain.com) to another email address, whether internal or external (such as Gmail).
2. Forwarding an Entire Domain (Domain Forwarder)
Redirects all messages sent to any address on your domain — even non-existent ones — to an entirely different domain or address.
Steps to Set Up an Email Forwarder in cPanel
1. Log in to your cPanel dashboard.
2. In the Email section, click the Forwarders icon.
3. Click Add Forwarder.
4. Enter the email address you want to forward in the Address to Forward field.
5. Choose one of the following options:
- Forward to Email Address: Enter the address that should receive the messages.
- Forward to a Failure Message: Send an automatic rejection message instead of forwarding.
- Discard: Silently discard messages with no reply.
- Pipe to a Program: Advanced forwarding via a script (for advanced users).
6. Click Add Forwarder to confirm the setup.
How to Set Up a Domain Forwarder
1. From the same Email section, select Domain Forwarders.
2. Click Create a New Domain Forwarder.
3. Choose the source domain and the destination domain.
4. Save the settings, and all messages sent to the source domain will be automatically forwarded.
Important Tips When Using Forwarding
- Avoid creating forwarding loops between two accounts that forward to each other, as this causes message delivery failures.
- You can combine forwarding with keeping a copy in the original mailbox by setting up additional Filters.
- Check the original mailbox from time to time to confirm forwarding is working correctly.
Frequently Asked Questions (FAQ)